
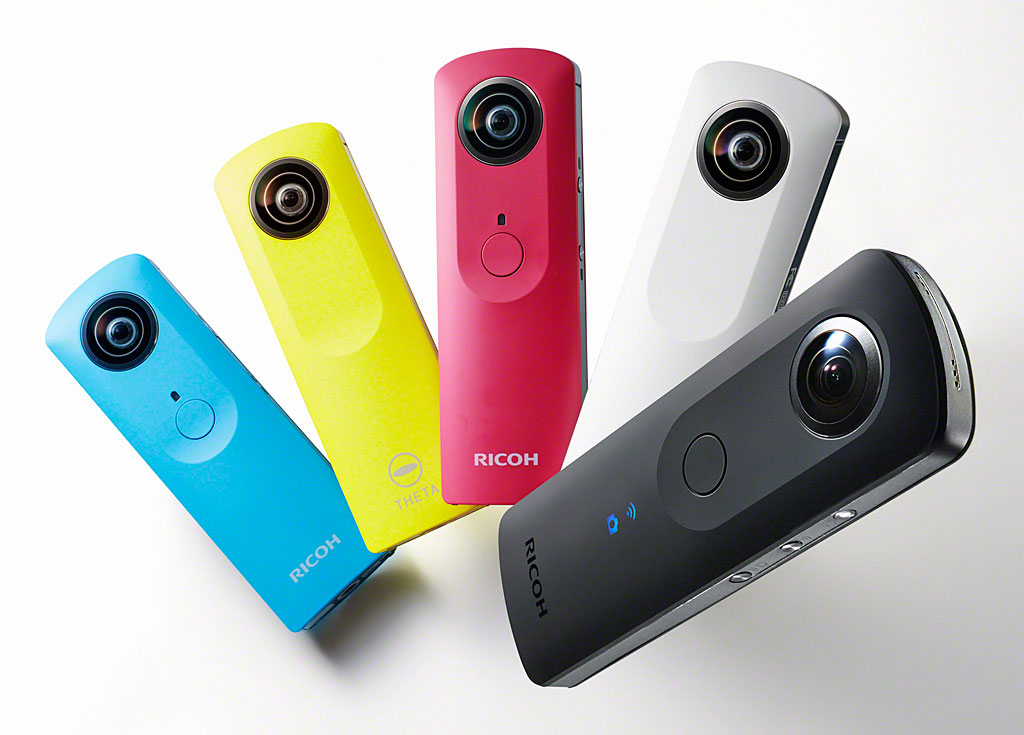
We have tested for you: Theta, the 360° camera by Ricoh
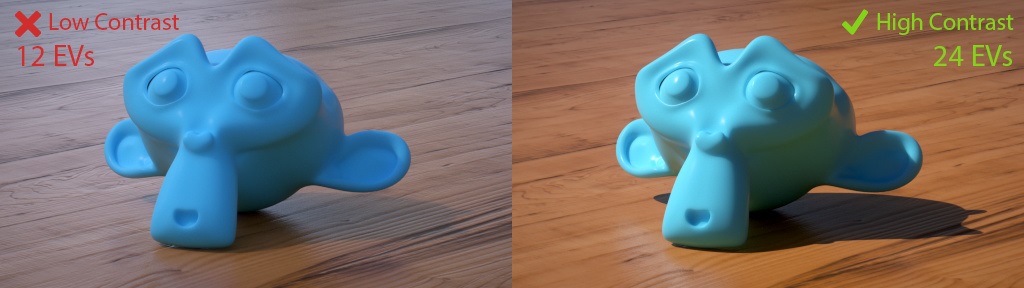
Using a HDR image in order to enlight your scene is often a guarantee for success. The principle of HDR (High Dynamic Range) image lays on capturing a large width of the darkest and the brightest values. Then the image stores the details of low and high lights.
It is quite easy to find some HDR in the Internet. However, some of them are lacking dynamism. A small verification through Photoshop, allows you to insure that the image is dynamic enough. Otherwise, the sanction comes right away: a diffuse shade (even in the case of the sun) and some reflects lacking of presence.
I already had the chance to create HDR for some of my projects. My procedure is standard: a DLSR camera, a wide-angle camera lens, an appropriate tripod for panoramic views and bracketing. Bracketing is a technique that consists in making various pictures where you vary the level of luminosity that enters in contact with the sensor so that you get the informations concerning low and high lights. In the end, it requires a lot of material to carry around, many long photoshootings and it isn’t always very simple to organize. Back in the office, you have to take care of the post-treatment: you need to assemble the pictures to create a panoramic and highly dynamic view to eventually get a HDR image!
That is one of the reasons why I use commercial HDR most of the time. My favourites at the moment are the ones by Peter Guthrie, who is a reference as a 3D artist for architectural rendering. As a matter of fact, he has opened a shop where he sells his HDR.
During the last meeting of the « 3ds Max Paname user group », NKI studio told us about how he captured the HDR for the lighting of its « l’Occitane » commercial. They used a 360° camera: Theta by Ricoh.
This meant that I could swap my 5 kgs bag for a 125 g camera? I’m in! I was waiting for it being on sale and I just offer myself the Theta SC for approximatively 100 €. The latest version (Theta V) costs 430 € but do not really improve the HDR photoshooting.
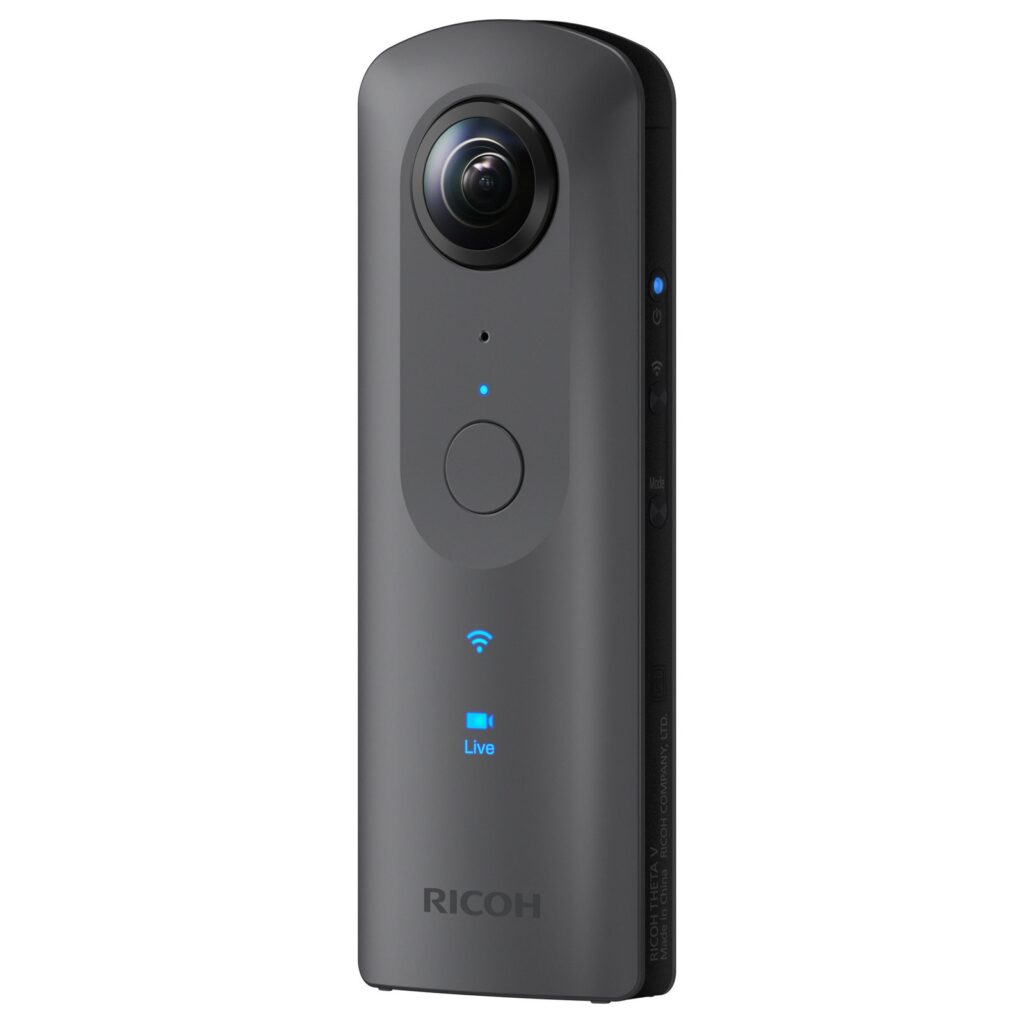
Theta can connect itself directly to your smartphone through wifi thank to an app developped by Ricoh. This 360° camera can record films, create time-lapses and bracketing, which is very interesting. Setting your Theta in order to get the different luminosity layers that you want to capture is a bit different that the settings you usually do on a DLSR camera. According to me, they are a bit more complicated on the Theta but it is still doable.
Once you have finished setting it, you need to first move away (so that you do not appear on the shooting) and then, you trigger the sequence. For ten 360° pictures you need 60 seconds.
Afterwards you have to compile your pictures with Picturenaut to create a HDR that you will save as an .hdr or .exr file for your rendering.
As for me, the biggest restriction comes from the camera resolution. Indeed, 5376×2688 pixels for a 360° image is a bit short, moreover for still images rendering: our HDR image would be blurred on highly reflected objects.
For instance, at HDRI Haven, HDRIs have a 16k resolution and Peter Guthrie’s ones a 14k resolution.

The other issue is linked to the sun caption. With the classical procedure, you can apply a neutral grey filter to reduce the intensity of light and to ensure to get a great solar “spot”. As Theta does not provide such option, you will need to craft a little tool in order to fix this problem.
Even though the result is not as good as what I would produce with my DLSR camera, you can still use it for many projects as it offers a great work flexibility.
This tiny camera supplements the range of HDR images options.
Christophe Bicchierai
To go further: